Sunday, 7 April 2013

Chapter 11 Further design exercises leading to fabric samples

Several more designs were produced in paper.
As some were to lead to fabric samples, fabrics were photocopied to help.
As in previous chapters paper designs, fabrics and stitch reflected snails and slugs

Paper sheets were produced to help with tonal effect; dark,medium and light

Further paper designs
Stack and whack to help produce similar shapes
Stitched fabrics
Fabric samples: Stage A and Stage B 

Further paper designs
Several were produced but the ones highlighted led to further development
The three first examples were not developed further


The second of the two below was developed further (See Stage B)


The one below as made up of two blocks side by side, cut in equal columns and rearranged.  These were developed further. 
(See Stage A samples 1,2 and 3)


This fan resulted from a similar block as above, cut in columns then diagonally and laid out.  In fact this was one that I did not develop further


'Stack and whack' to help produce similar shapes
In the first series of 'stack and whack' four different tonal papers were selected
Here, four are laid out as quarters before and after cut using a threadless needle in the sewing machine to produce perforations  (Used a separate needle as it could blunt)


From these pieces several arrangements resulted.
One in particular followed.  Selecting just some of the pieces to produce a block which could then be cut in equal columns. 


In my mind I was looking to produce a fabric board for a game, whether it be 8 x 8 as in chess or draughts, 10 X 10 as in the traditional game of 'snakes and ladders', or less traditional.  Why not use a design as on page 17 above?

In the meantime I started to stitch various hand-dyed fabrics.  
Stitched fabrics
Several fabric pieces were machine stitched using running stitch, various machine generated stitches as used in Chapter 8, whip stitch, cable stitch and free machine embroidery. Threads included Gutermann black and white, perle, and fancy threads.  Some stitching was in parallel rows, others followed the pattern, overlappd one another, dense and less dense.  These can be seen in the samples later in the chapter.

Fabric samples: Stage A and Stage B 

Stage A 
These samples had the game boards in mind .
Initially I thought about making quarter of a chequer board, aiming to produce light and dark 3 x 3 cm pieces within a square 12 x 12 cm


Resulting in this sample (Sample 4)

 
I then thought it would be useful to have more variety in the design using the 'Stack and whack' technique to generate pieces of fabric put together either to produce a traditional chequer board or a more varied 'snakes and ladder' without the symbols.
Here is a design for the chequerboard


made up by combining dark and light shaded squares, glued down then cut in equal strips, alternated light rows with dark rows, glued down again before cutting into strips across the original pattern (shown below)


Could this be something to do for a final project? 

Here is the sample for a less traditional board:
The design used was one of the blocks shown above (third illustration) in the chapter.
Samples 1 and 2 below were joined together to produce a larger sample 3
Sample 1 has seam backward facing, Sample 2 forward facing with stitching to embellish between the rows.


Stage 2
Following the techniques used in Chapter 10
Here is the sample produced made up of three sections

Explanation:


Front
 and back


Saturday, 23 March 2013

Chapter10 'Piecing' A method of cutting and seaming

This chapter has two sections

Paper method
Creating a mosaic pattern using fabric

It applies the Seminole patchwork method with some application of Fibonnacci sequence to black and white strips to produce different designs

Paper method
The following shows different ways of cutting parallel black and white strips of paper to form patterns based on the Seminole method applying the sequence as shown below (explanations are on each photocopy) 


Creating a mosaic pattern using fabric
Using slightly larger pieces of black and white fabric than the paper above a patterned mosaic can be made by cutting and seaming until the machine can no longer stitch through the seams.  At the early stages the Fibonnacci sequence is applied when selecting where to cut for the retained top sections(seen in the photograph). It produces a fully textured sample on the bottom.

Here are the instructions and comments for the work


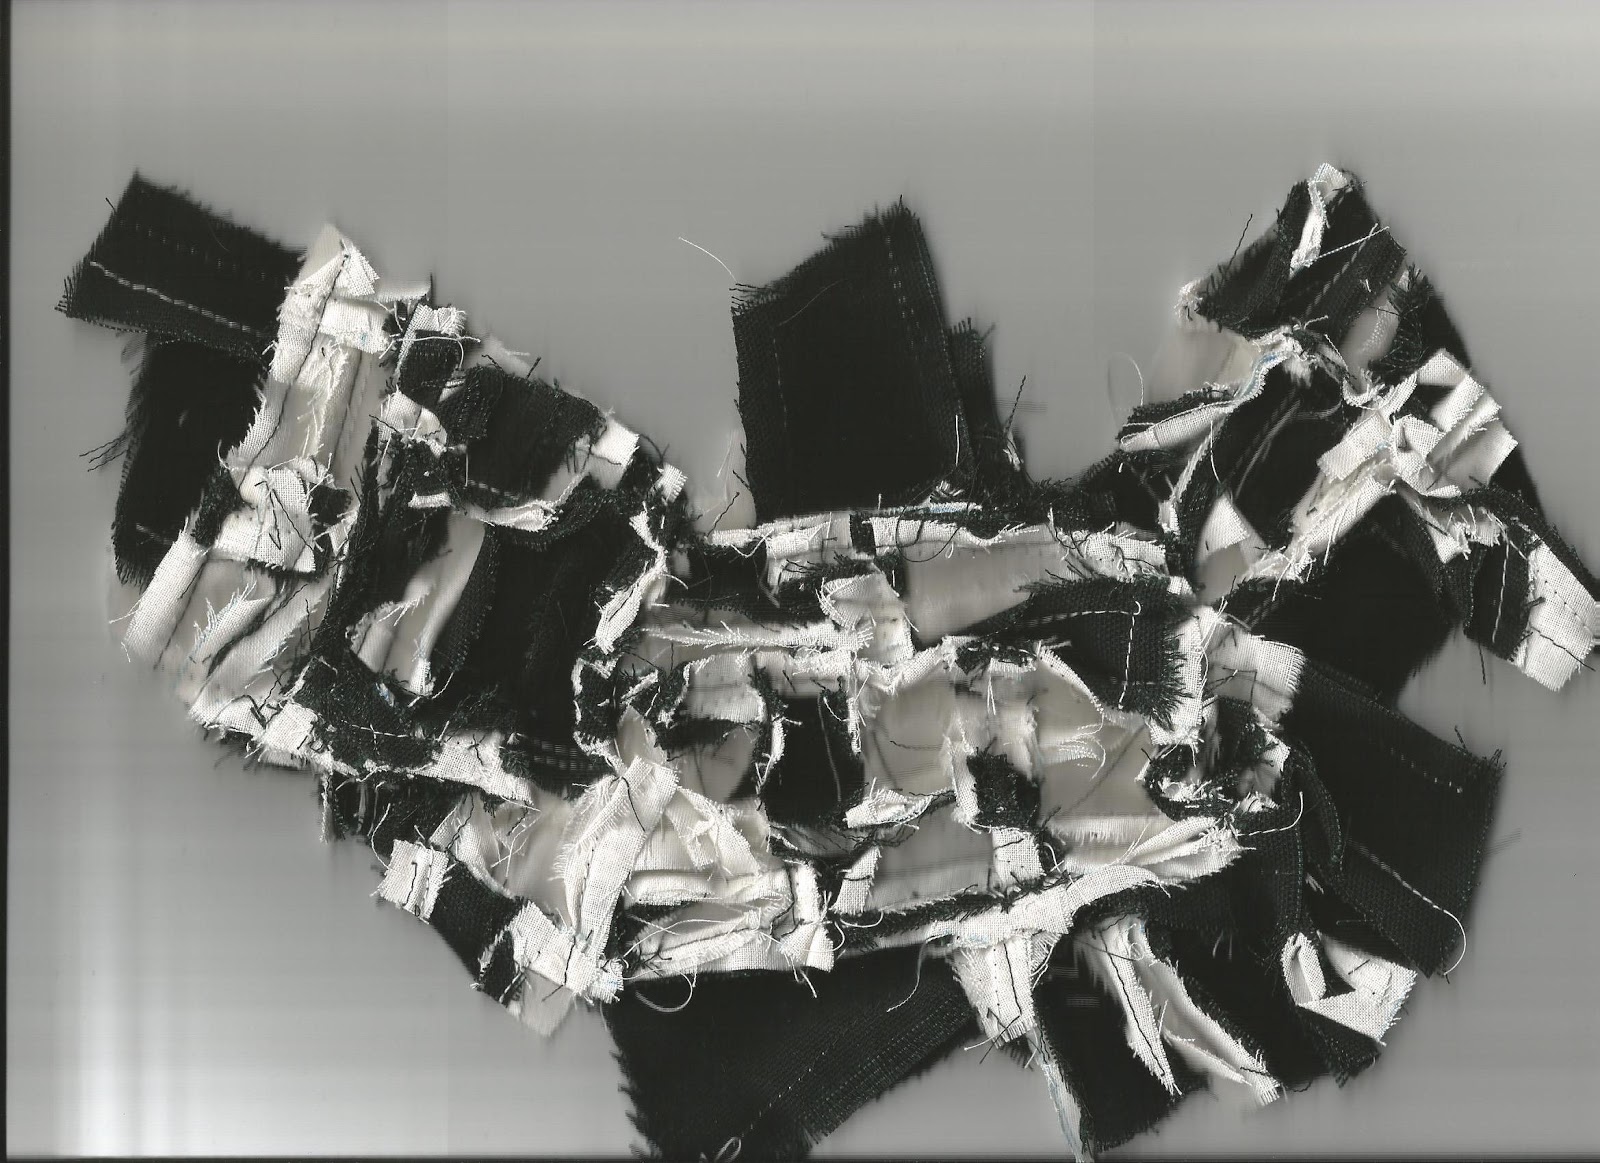
The following are two scanned samples, showing the top and bottom (although incomplete), with a photograph showing whole of the same piece.


The bottom piece is certainly an intriguing shape and well textured.

In addition, I've scanned the front and seamed side of a piece half way through the process which I liked.  Reminds me of a bird!  I almost decided to attach this to the top two pieces - It may have looked more balanced, although not so textured.


Wednesday, 20 March 2013

Chapter 9 Designs using Fibonnacci Sequence


This chapter shows designs using papers made in Chapter 5, as finished designs or photographs of stages or alternative designs, of the: 

Fibonnacci Sequence
Golden Section

Both are found in nature and are useful for producing balance in patterns for fabric pieces, using the sequence 0,1,1,2,3,5,8,13,21,34 and so on, where the next in the sequence is made up by adding the previous two numbers

Firstly, diagrams (not shown) using 1 cm units were drawn up on graph paper.
Then the following exercises were carried out:
All designs are labelled F1(Fibonnacci) or GS 1(Golden Section) and so on.
They are in 1cm units using 1,2,3,5,8 unless otherwise stated

Fibonnacci Sequence

F1. Five patterned papers graded into a gradual tonal column


F2. The above, divided at right angles into the Fibonacci sequence and stuck onto paper with spaces between each section


F3. More strips from the same sequence of papers arranged in a different way
(The original piece contains two more strips to the left 1cm and 8cm following the alternating sequence as the others, folded over to fit the A4 scan)


F4. One patterned and one plain paper were cut into the Fibonnacci sequence, arranged alternately and glued down


F5. The above design was then cut and arranged on plain background leaving gaps based on the Fibonnacci sequence


F6. Using the same pieces as the above the design was then rearranged as alternating pieces some up some down with no spacing and stuck down
(The original piece contains two more strips to the right 1cm and 8cm following the alternating sequence as the others, folded over to fit the A4 scan)


F7. This shows a new block of five papers, where a second is produced and laid next to and on top of each other, one the reverse of the other


F8a. and F8b. Show different examples of using one block of the above design cut into equal strip widths (2cm) and forming two different fractured designs
F8a is more fractured than F8b


F9. The same strips as in F8a. were used to make a square design based on the 'Log Cabin method' starting with two parallel strips then placing the next strip at right angles and continuing in a clockwise direction with the other strips


This was then stuck down on to a plain background.
It was fascinating how the pattern evolved, highlighted by the curly pattern, presenting a different balanced arrangement from those in Chapter 7


F10a to F10i  These designs evolved from a new block

The block was initially cut into two triangles with 45 degree angles
See F10a,b,c 
Then cut into diagonal (45degree) strips.  All but F10d use the whole square.
F10i I particularly like and can see it developing into a fabric sample 

New block 
 F10a
F10b 
F10c

F10d Using one triangle only cut using Fibonnacci sequence using a unit based on the perpendicular lengths

 F10e
F10f 
F10g 
F10h 
F10i 

These pieces are kept in a pack for further experimenting

F11a,b and c are designs made up of a larger block where the Fibonnacci sequence was applied but varying the sequence in an ad hoc manner
1,1,2,2,1,5,1,3,8


The pieces have been kept loose for further experimenting 
Golden Section

Here are two designs made using the principles of the Golden section

The first (GS1) is based on 1cm unit side measures increasing the squares in the proportions of 1,2,3,5,8,13,21- each square with tonal change from lighter to darker as go outwards, in an ante-clockwise direction
(The original piece contains a 21cm square folded over on the right to fit the A4 scan)
The second (GS2) a smaller design based on 1/2 cm unit alternating pattern and plain papers  

GS1
GS2


Of the two the first is more effective.
The second may have worked better using different patterned papers as the first or perhaps the effect would be better on a larger scale continuing the sequence, or putting in the diagonal line across each square to develop a spiral.


I can see there on many possibilities of using both the Fibonnacci sequences and Golden Section in developing pattern and design to translate into fabric.