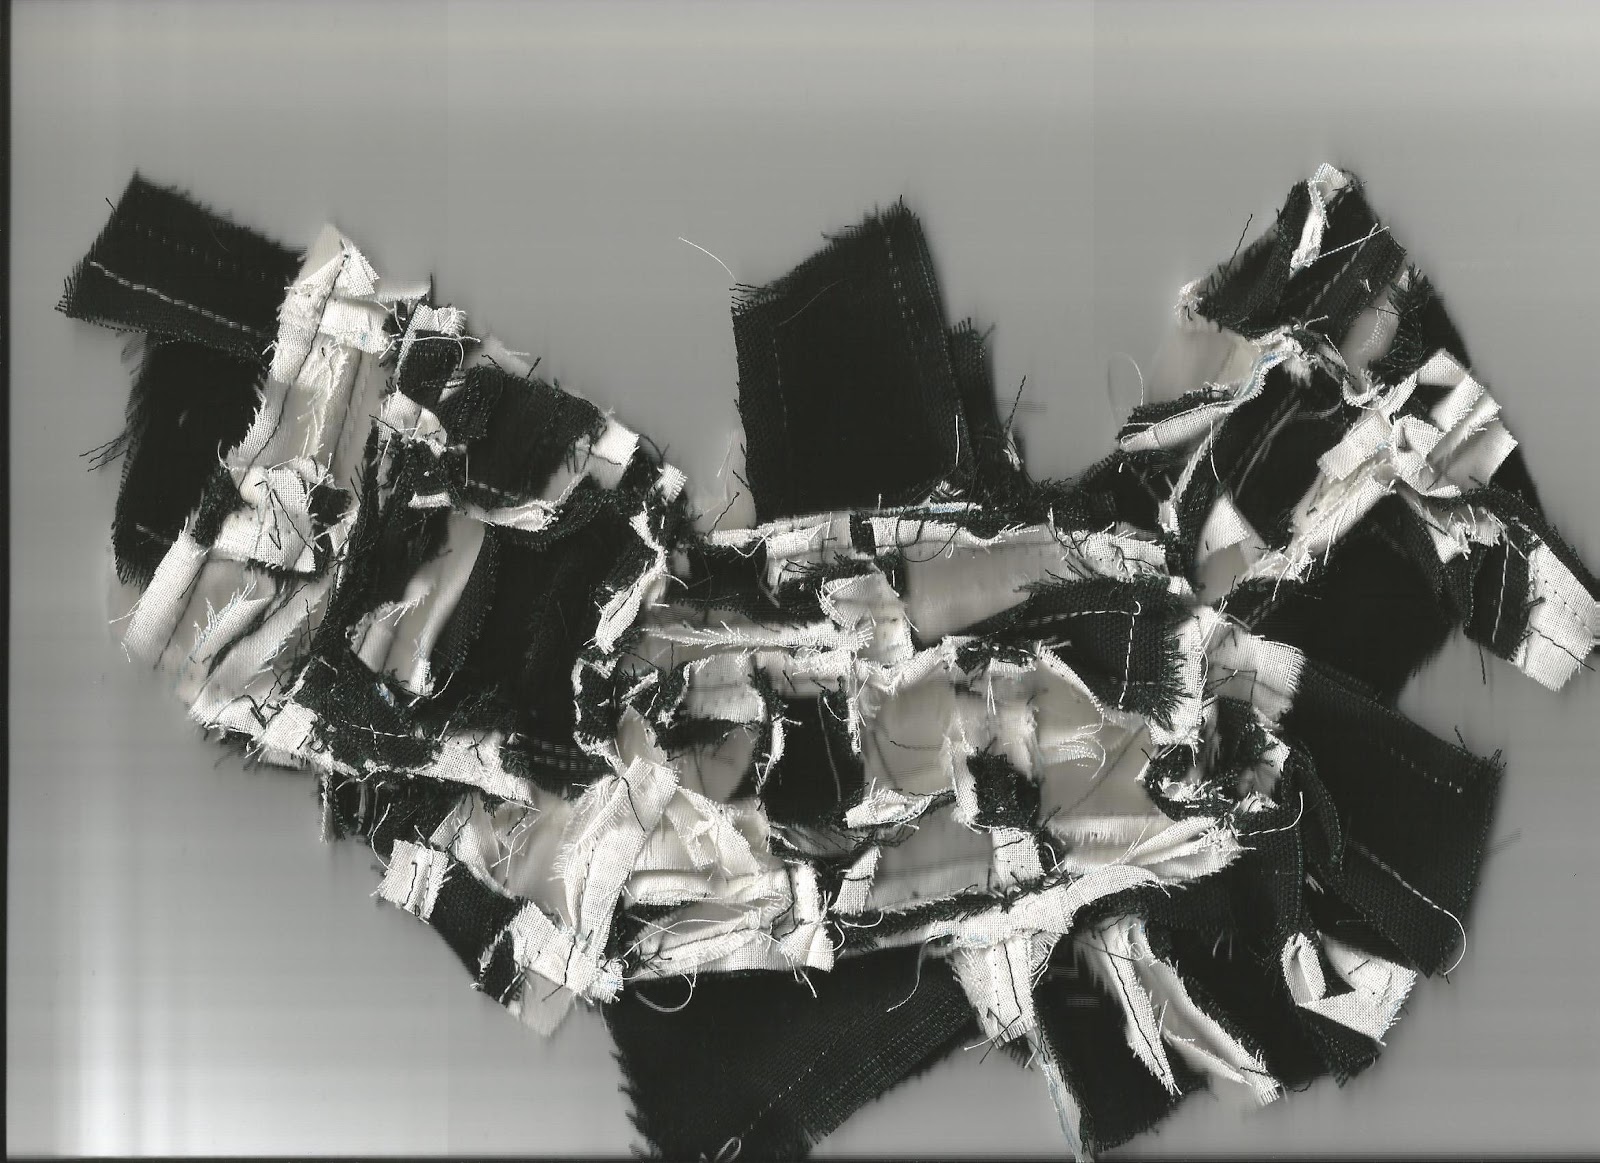
In making this box I used two art canvases as a frame for the worked fabric pieces (30cm x 30cm by 2cm depth)
I had to calculate quantities based on the materials already dyed, printed or purchased, calculating lengths and widths to fit two 30cm x 30cm frameworks and 2cm depth, respecting the need for tonal variation and the inspiration given to slugs and snails and their animal markings.
Top of the box
'Thrushes and Trails' was the name given to the game on the top of the box.
This was produced using 'Stack and whack' technique to four selected fabrics.
Each piece of fabric was 18cm x 18cm, cut on a slant, then laid out to form the quarters. An allowance of 1cm was given for each seam.
Taking a piece from each quarter the design was re-aligned so each fabric was used, cut into 4s and restitched together.
There is a rotational feel to the fabrics. Each quarter having parallel rows 90 degrees from each other. Each quarter was seamed together on a cross, using Pattern 12 on the machine.
The game was completed with numbers stitched in black, grey or white using Holbein stitch.
(I originally thought to use backstitch, but then realised Holbein stitch was more relevant to the module and making numbers. Using set designs helped with consistency).
'Snail trails' in silver hollow ribbon were added to move up in the game and 'thrush feathers' to move back or down in the game, and counters made of coils of cord with enough variation in them for players to distinguish their own piece.
When making the feathers I traced examples on the internet and used two layers of fabric gey and mottled white,easy to fray for a feathery effect or leave smooth and to give tonal variation.
I feel these worked well, attaching the centre line with floral wire machine zigzag stitched into place.
I was surprised that the game only just fitted the top, maybe the seams were less than the half cm allowed. Perhaps next time more care could be taken to allow for a border, made of a cord.
I purposely had the seams on the outside to add character to the surface.
Raised features on the top game I felt worked well, and would not get flattened as the lid of the box rather than the base.
Game instructions written on paper were placed in the box.

Bottom of the box
'Snail maze' was the name given to the game on the bottom of the box.
This was produced using 'Log cabin' technique to a number of selected fabrics arranged in the Fibonnacci sequence 1:2:3:5:8, with tonal change.
Each piece of fabric was initially 80cm long, varying in width from 2cm for black to 9cm for white patterned. An allowance of 1cm was given to each for seams.
Once each fabric was stitched together, this was then cut in 4cm widths each column folded in half to attach to the background cotton fabric (more than 30cm x 30cm).
There is a rotational feel to the fabrics. Each column started with the black end aligned to the outer edge of the previous column in a clockwise direction, using running stitch on the machine.
The game was completed with tie and dyed slightly wider edge to neaten any overhangings of columns at each corner and finally a border using 5 layered fabric in strips of different widths, with the bottom one covering the remainder of the board
The materials chosen were mostly commercially produced and reflected markings on slugs and snails with some fraying. The silver threads used to join these layers meander across like snail trails!
I purposely had the seams on the inside to highlight the 'logcabin method'. A flat surface is more appropriate for the base of a box.
No other features were added to the design.
Game instructions written on paper were placed in the box.

Sides of the box
Two techniques were used to decorate the sides of the box.
Seminole method in black and white checked design on the left and right sides, seminole angled design using three widths of fabric on the back hinged side.
Each piece of fabric was initially 45cm long, 3cm width (for 2cm depth).
An allowance of 1cm was given to each for seams.
I purposely had the seams on the outside for texture.
Apart from the hinged side, each depth needed to be sufficient not only to cover the 2cm depth, but also to seam with the top and bottom of the box and fold inside both the lid and base.
I chose to add a decorative thread around the seam joining the top design to the side designs.
I chose a hairy shiny black fibre which reflected the skin of slugs.
For the hinged side a complete piece of fabric made of 3 equal widths of fabric were made to match the slanted Seminole design at the front, to cover the sewn join of the two canvasses.

The fabric was attached with staples, inside the lid (making sure for safety each staple was flush with the wood).
I also wanted the box not to look bare inside so I photocopied the reverse of the top design and the same side of the bottom design to glue inside, using non-toxic pritstick (which looks as it will stay stuck firm)
The box lid was joined by stitching a double row of linen/flax strong thread - difficult, but made a strong but flexible hinge.
I thought the fabric should be put together like a jacket to fit around the frame.

Initially it was too tight from back to front.
I had to widen the hinged side, but fortunately I'd given enough allowance and once this alteration was made the material fitted comfortably.

The following illustrations show more detail from the centre of the lid and the counters:


In conclusion
I truly enjoyed designing and working on this piece, dyeing and monoprinting my own fabrics, selecting and measuring material, making cords and having fun with seams. I feel this is a functional piece both as a box and making games in stitch, sticking to the inspiration of animal markings related to slugs and snails.
I also hope to have fun using the box in the future.
I feel as if I have learnt a lot about tonal change related to black and white, discovered blackwork, Holbein stitch, Logcabin and Seminole methods, the Fibonnacci sequence and Golden section. I have tried to incorporate as many techniques in this project.
Is it cost effective? It took some time, but I managed to keep the costs low using recycled clothing/fabrics from charity shops, helped with supplies from friends and my existing supplies of thread.
What could I have done differently?
Possibly overstitched each fabric more densely
Used more decorated seams and incorporated more cords for decoration, although sometimes it is important not to overwork a piece.
Altered the size of the box so when the lid opens fully to lie flat, as it does in my example one game board only is needed (half on the lid, half on the base)
I am always opened to suggestions!
Date started project: 15th April 2013
Date completed: 3rd May 2013 (yet to write up game instructions)
Time for project (see also list on paper)
Preparation - Noting ideas 15 pages - 11 and 3/4 hours
Working on box - 45 and 1/2 hours
Time excludes writing up notes and blog
Cost to date excluding book purchases (see also list on paper) - £51.66
Extra pictures
Shows the lid and base opened up
Shows the lid and base opened up
The first is without the counters the second with the counters


Here is a friend and I having a game of 'Thrushes and trails'
I've now made a bag for the counters (it's alongside the board)

Instruction sheets to follow