A4 patterned papers were made continuing inspiration from slugs and snails.
Samples were selected using different techniques:
Ink marks using Quink Ink
Bleach marks on black tissue
Monoprints using black acrylic paints
Ink marks using Quink Ink
All were made on A4 photocopy paper.
Each sample used unconventional drawing equipment.
The technique was written on the back of each sample
Here are 6 samples from 15. The first 2 used neat Quink ink, showing darker tones than the other 4, where diluted ink was used producing paler versions (not necessarily black or grey colours)
Q 1 Enlarged pattern from the lower parts of a snail, drawn with a sponge brush
Q 3 Snail shells, drawn using the end of the sponge brush and dabbed producing solid wetter ridges and drier ridges
Q 6 Parts of snail shells, using pieces of flat kitchen sponge, where lay down end then dabbed down rest of the sponge, giving a variety of tone
Q 7 Slug body, using toothed credit card approximately 3" wide for ridges overlaid with edge of sponge for speckled effect
Q 8 Part of snail shell using flat surface of a piece of sponge
Q 11 Snail shell with curved arrangement of marks using crinkled bathroom hand paper towels with interesting variety of tonal change
There is interesting tonal differences between samples.
Possibly even more effect on last 4 if neat ink was used.
Bleach marks on black tissue
The first 3 were made on slightly smaller A4 size black tissue paper, the final 4 on strips of black tissue approximately 4cm x 30 cm
Each sample used unconventional drawing equipment.
The technique of each sample was noted in the sketchbook
Here are 3 samples from 6, on A4 paper where the first used thin bleach the remaining 2 thicker bleach, with more effect.
B 2 Used a cut credit card approximaetly an inch wide with 3 cut points wiped intermittently across the paper. The crinkly paper adds to the texture
B 5 Used a cotton bud first dabs on the paper then wiped across
B 6 Used a plastic fork with short marks - It was interesting how the thicker bleach also added some interesting lines, catching drips across the paper
B 7 to 10 were respectively, wavy lines using a lollipop stick; wavy lines using a cocktail stick; wavy lines using a narrow piece of credit card; using a cotton bud
I feel like giving this technique another go using the thicker bleach might provide better results.
Also, found that I was abandoning reference to the animal markings, but got some interesting results nonetheless.
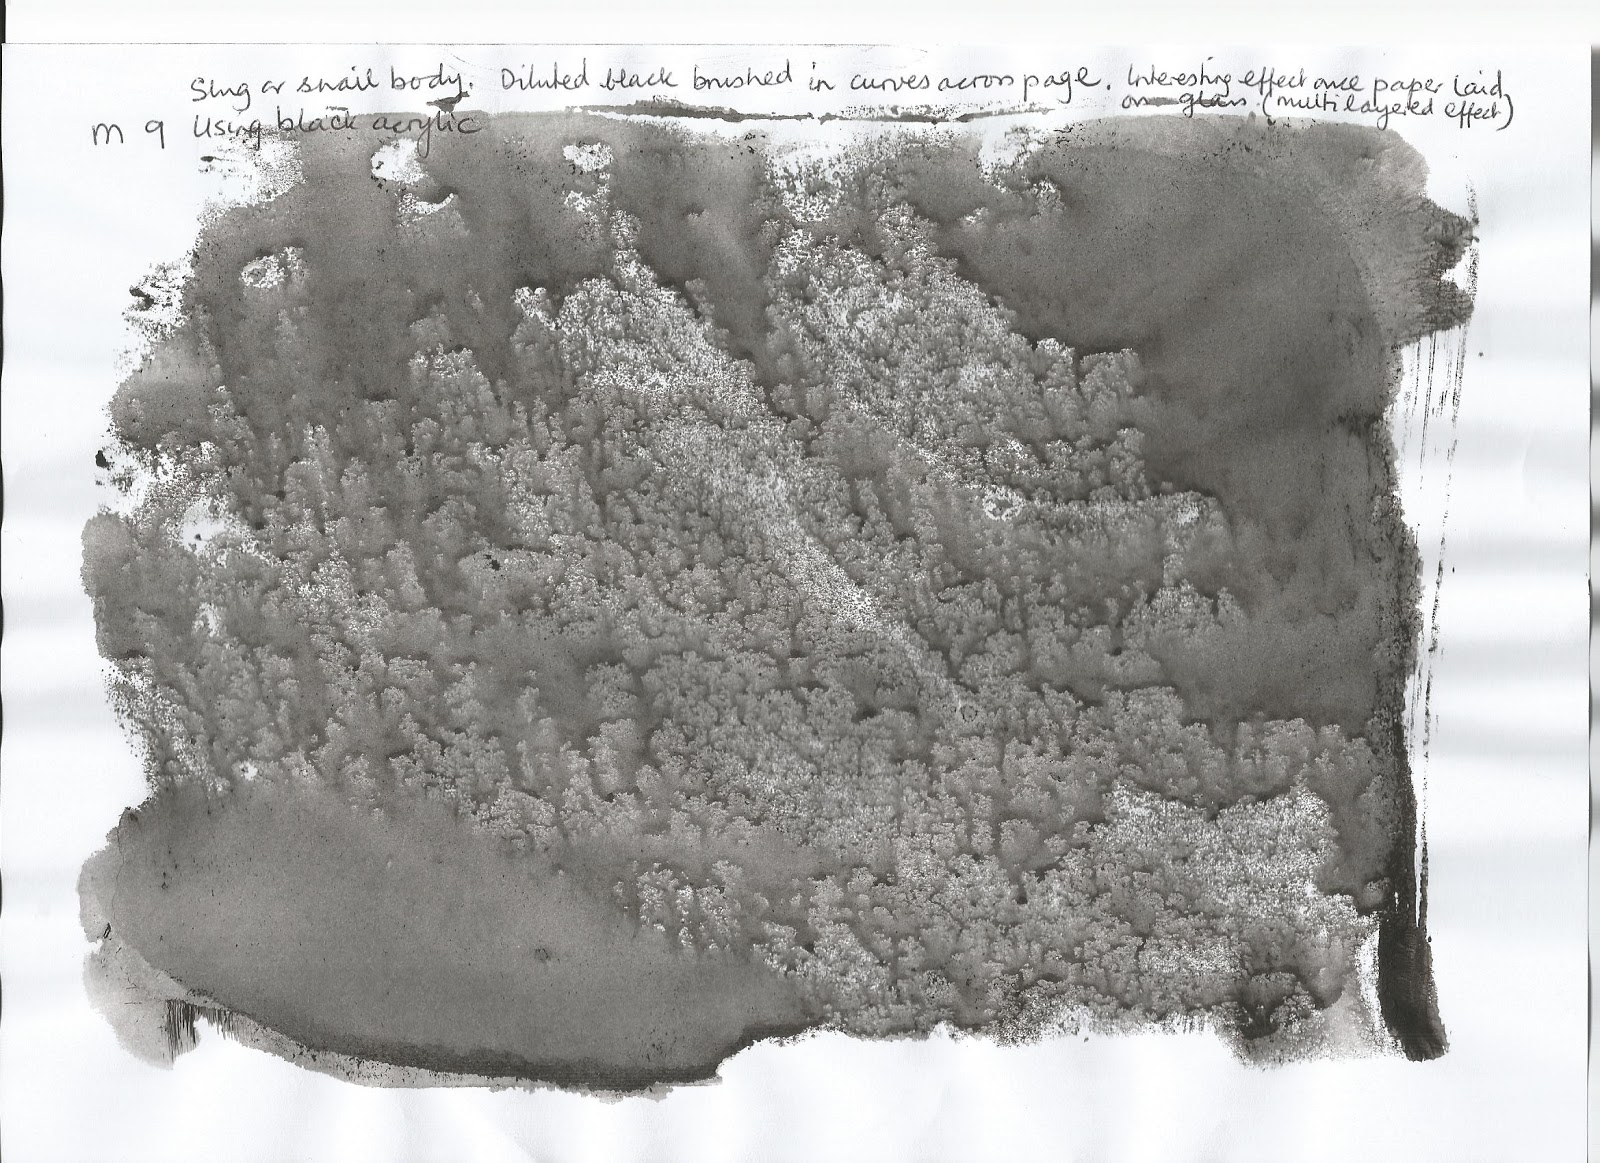
Monoprints using black acrylic paints
I particularly liked the results using this technique.
Some can be compared with the Quink Ink samples.
All were on A4 photocopy paper, having drawn or spread black acrylic paint on glass.
Each sample used unconventional drawing equipment.
The animal source and technique was written on the front of each sample
Here are 7 samples from the 9 samples made: M1,M2,M4,M5,M6,M7,M9
The first 6 used thick black acrylic, showing darker tones whereas the last used watery paint producing paler versions.
M6 and M7 also were the result of coating the glass with paint then removing paint to give white marks.
And what an interesting result from the kitchen roll used to wipe off the paint on the glass!
Some additions to this chapter related to scale in work, following up Sian's suggestion:
Two items resulting from scale manipulation of designs produced in word
Photo of a selection of original ink, bleach and monoprint designs showing tonal variation
Two items resulting from scale manipulation of designs produced in word
Looking forward to using the above in Chapter 7.
Photo of a selection of original ink, bleach and monoprint designs showing tonal variation
I added some designs not added earlier to my blog....
...and the next shows the top half closer up, including bleached black tissue.
It's really interesting seeing how scale can effect your work.
This chapter is divided into four sections and highlights stitched patterns related to animal markings of slugs or snails for inspiration:
- Tonal machine stitching using ordinary stitchery (Samples 1 to 10)
- Whip stitch effect (Samples Whip 1 to Whip 3)
- Cable stitch effect (Samples Cable 1 to Cable 3)
- Making machine stitched strips (Samples a to d on white cotton) (Samples e, f and h on black cotton) Wider stitched lengths that can be cut up (Samples g and i) Selected commercial patterned fabrics
Tonal machine stitching using ordinary stitchery (Samples 1 to 10)
Each sample is 10cm by 10 cm (showing the top of the fabric)
I feel samples 4,5,6,7 and 10 are particularly effective in showing tonal variations
(In my sketchbook is a spreadsheet showing techniques used for each sample)
Whip stitch effect (Samples Whip 1 to Whip 3)
Each sample is 10cm by 10cm
These show the top of the worked samples. However I have also included the reverse of sample Whip 2 for its tonal effect
All were worked with white thread on top and black thread in the bottom spool
I feel sample Whip 2 is particularly effective in showing tonal variations both top and reverse of the fabric.
(In my sketchbook is a spreadsheet showing techniques used for each sample)
Cable stitch effect (Samples Cable 1 to Cable 3)
Each sample is 10cm by 10cm
These show the back of the worked samples. All were worked with white thread on top and black thread in the bottom spool.Using the Janome machine using top tension of 9 and not altering the spool tension.
I feel sample Cable 3 is particularly effective in showing tonal variation
(In my sketchbook is a spreadsheet showing techniques used for each sample)
Making machine stitched strips Samples a to g are 4cm by 30cm. Samples h and i are wider.
Only 1 to 3 rows are shown on each sample except h and i. It is planned to produce more rows for each width in later work. In the meantime it is interesting to see some tonal differences along the length of the strips. Further tonal variation would be achieved with additional rows.
(In my sketchbook is a spreadsheet showing techniques used for each sample)
Making machine stitched strips (Samples d to a on white cotton)
These show the top of each worked sample followed by reverse.
All were worked with black thread on the top and white thread in the bottom spool.
I feel it was particularly interesting how altering the top tension in Sample b brought up the white thread
Making machine stitched strips (Samples e, f and h on black cotton)
These show firstly, the top of the worked samples followed by reverse.
All were worked with black thread on the top and white thread in the bottom spool.
Samples e and f used the whip stitch effect, sample h cable stitch effect
I feel Sample e and f are particularly effective inspired by the ridges on the body of a slug, including the reverse of Sample f.
Making machine stitched strips (Samples g and i)
Samples g and i are 8cm and 14cm wide respectively by approximately 30cm.
These larger samples can be cut up for use later.
Sample g on calico is shown above with Samples e,f and h.
It was worked with black thread on the top and white thread in the bottom spool.
It has produced an interesting pattern with overlapped rows but not as much tonal variation as Sample i below.
The above sample shows the first layer of stitch.
Rows were stitched across to form a second layer.
In order to add differing threads the fabric was turned over in order to add cable stitch effect for the third layer and to allow for variation in thickness and type of thread.
The following shows the reverse of the worked sample.
Both sides show different tonal variations.
Selected commercial patterned fabrics
They are all 4cm by 30cm.
Finally I selected some interesting fabrics for possible use later, to use as they are or stitched over.
The reverse side of two samples could be used as well as main side (see third and fifth below).
It was fascinating discovering the versatility of the sewing machine.
Which foot to use, whether the foot is up or down, whether a hoop is used or not. Altering the upper tension to 9(I'm afraid I didn't alter the lower - I'd mislaid my spare spool case), worked for cable stitch samples.
I look forward to experimenting further as I progress through the module.
This chapter contains sketches to highlight patterns and tonal changes on enlarged images of animal markings.
The first illustration is the first page indicating sketch tools used and how the images were created.
Samples (1) to (7) are sketches from different animals, with most emphasis on snails and slugs:-
1. This was a dark image of a real pheasant feather. Used markers b. to e. and noticed how b. turned out bluey black. The lines on the feather were beautifully parallel (unlike my copies) and picked up cross marks and two or three dark markings forming feather patterns.
2. These moth drawings were from a more balanced black and white image.
There were several different patterns and textures. The patterns were picked up in the sketches rather than the shadings.
3. This is a gray scale image of a seahorse. It is the only one where shading was done with a 4B pencil. There is a wide contrast in tone from the black of the eye to white of the dots on the end of the spines. I chose grayscale to see more of the shapes and patterns. The black and white image was very like polka dots - no problem, but preferred chosen image, especially the shape of the spines or tentacles!
4. The snail has many patterns and I was struck as to how many dots form the image.
The variation in pattern was from solid black shapes to subtle dotted lines.
5. The contrast in tone between black and white in the slug is reflected in how light catches the moist skin surface. There were an amazing range of patterns and I tried to capture the most distinct, using all felt tips.
6. This time concentrated on snail shells. Although there were many dots used line to show pattern; swirls of the shells and fine ridges across them. Used all felt tips trying to grade tone using spacing and changing the pens.
7. Snail mouth shown under a microscope. See comments on the sheet.
Although a technical pen was not used I hope I have captured tone and pattern successfully by varying different felt tips I had available.
This chapter relates to tonal change in stitching from black to white.
The two techniques used are:
Canvaswork
Blackwork
All samples are approximately 4cm x 12cm, using either black or white threads.
Canvaswork
The tonal change is achieved by using cross stitch through out, following recommended techniques where all top stitches go from bottom left to top right.
Each end of the sample are dense colours using thicker threads and smaller stitches.
Both the front and back of the sample are shown
This sample shows freer stitch work leading to tonal change
Blackwork
Following research on blackwork three samples were worked.
Initial design ideas and patterns were drawn on graph paper.
The first column shows pattern development based on spacing the same stitch and using same thickness of thread throughout
The second column shows pattern development starting with a simple stitch gradually adding another until obtain a final more complex pattern, two rows per stage
The third column uses the same stitch throughout varying the thread, three rows per stage
I feel there is a subtle tonal change with sample 1 (a variation on initial designs). It may be better to work another sample using the first attempt on Page 19 (see graph work below)
Tonal change is more evident with the other two.
Graphwork
The graphwork shows ideas for the designs with comments:
Simple unit of pattern (Top of Page 16)
Pattern development using spacing of the same stitch (Page 19) with revision for the final sample
Pattern development from a simple to more complex stitch (Pages 16, 17, 18 and 20) using design on Page 20
Pattern development using the same stitch throughout but gradually varying the thickness of the threads (using design on Page 21)
The next illustration compares the back with the front of the three worked samples, showing a freer interpretation of stitch work:
Finally, with my interest in snails growing decided to show, using Holbein stitch, one of my own designs from graphwork to finished piece 6cm x 4cm:
This chapter is to show canvas work and blackwork applied to the tonal change from black to white.
The first and only piece of work so far is canvas work using cross stitch varying the size and type of cross stitch and different threads.
It is 4cm by 12 cm.
The stitch work is denser at both ends not only because smaller cross stitches are used but also thicker threads.
I'm wondering if it needs any further work on it?